
This guide serves as a first introduction to the simulator and only includes basic use cases.
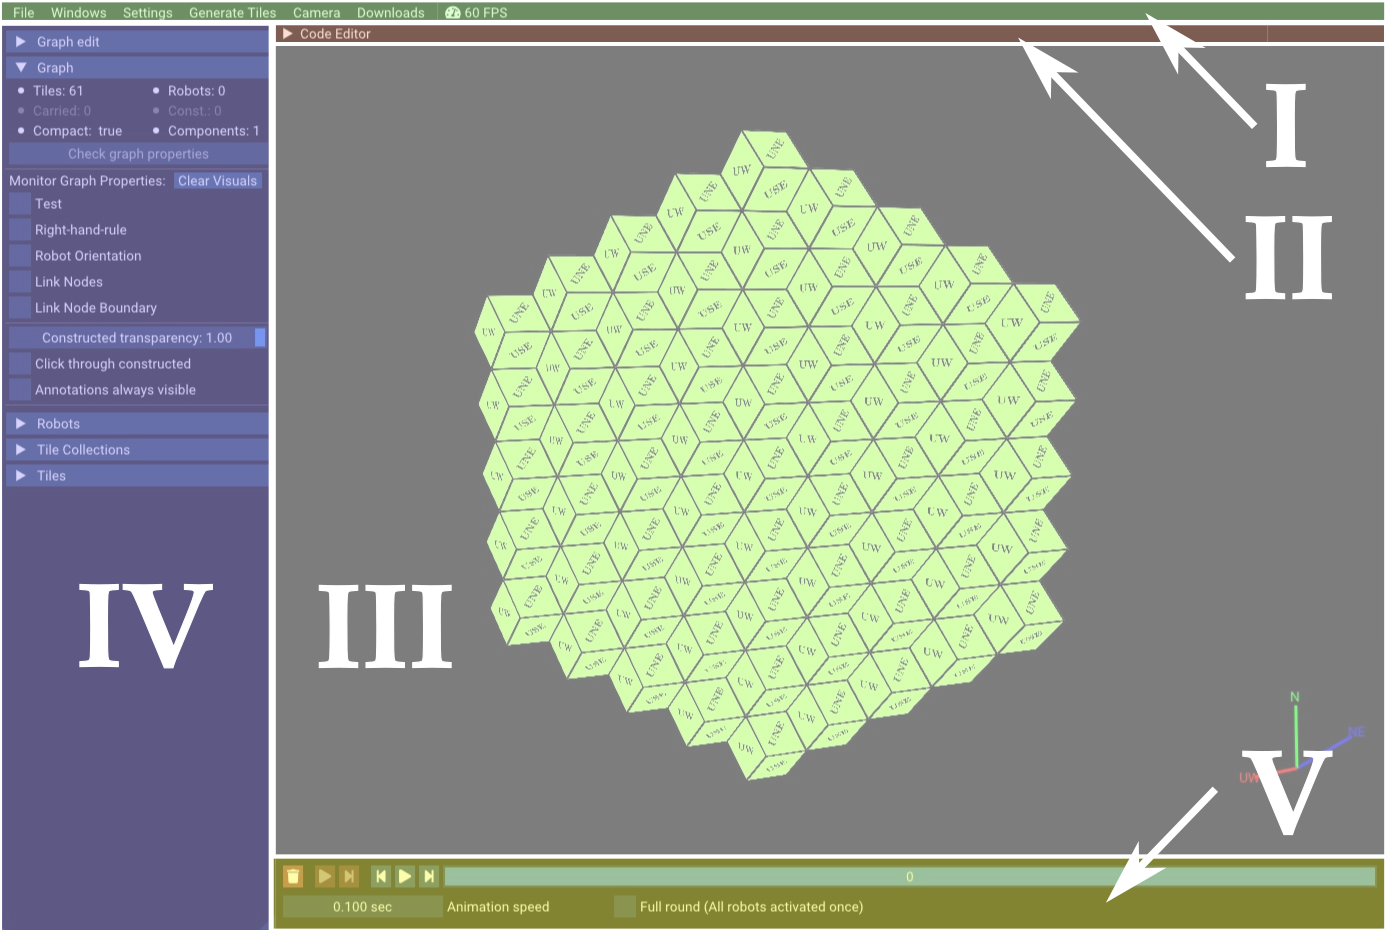
Let us first identify the main components of the simulator. Any references to advanced elements are shown in cursive. Refer to the figure on the right as visual guideline (click the figure to zoom in).
- Main Menu: Here you can save/load configurations, show/hide additional windows (which we do not need in this quick guide), generate new configurations and set all important internal variables of the simulator.
- Code Editor: Click the header to expand/collapse the window. In here, you write or import robot code that can (after compilation) be executed by the robot in the simulation.
- 3D View: This is the main view of the simulator. Here you can manually change the tile configuration and see the results of the robot simulation in real-time.
- Property Panel: This side panel gives an overview about all tiles and robots, their variables and set visuals, and the configuration in general. Also, it features the Edit Mode that allows changing the configuration using more advanced tools, and the section Monitor Graph Properties, which allows us to visually monitor specific properties.
- Timeline: The timeline is used to run the simulation and to undo/redo any changes to the configuration whether they are manual changes or result from simulation. For now there are no robots, which is why you cannot click on the play-button that runs the simulation.
Click on the next step on the left to continue.
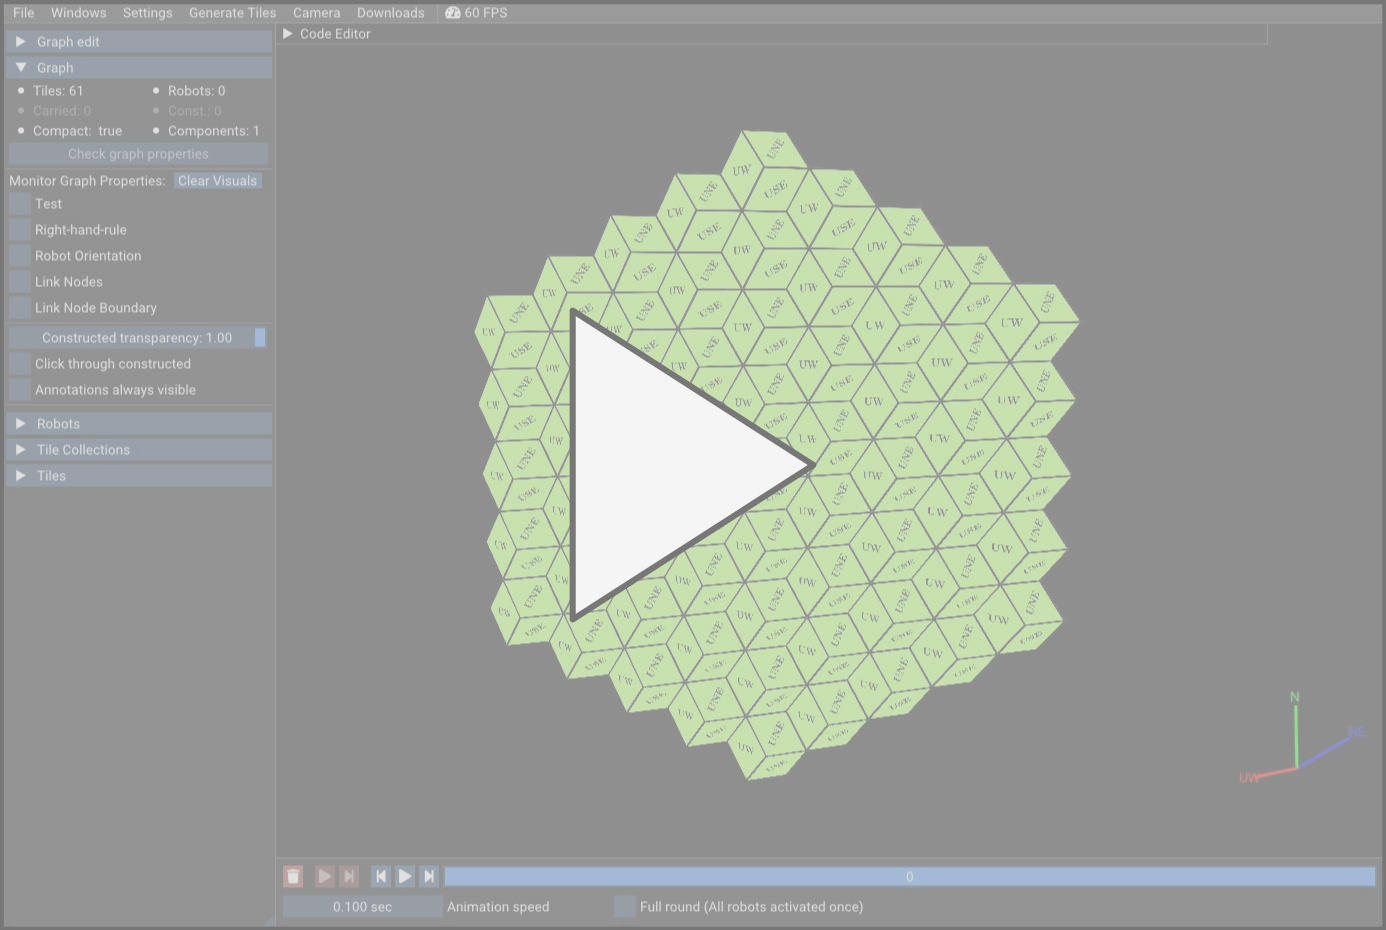
Next, we want to move the camera to get a better view on the configuration. Click on the image on the right for an animated example.
- Move left A and right D.
- Move forward W and backward S.
- Move up Space and down C.
- Rotate the camera by Left-Click and dragging the mouse inside the 3D View.
- Try to perform a full rotation around the configuration by holding Left-Click and A or D while dragging the mouse to the left or right.
Make yourself familiar with the camera movement before continuing to the next step of this guide.
The current configuration should be a disk consisting of 61 tiles - all within the same plane. We want to add some tiles to make it three dimensional.
- Hover with the mouse over a tile - it should change to a darker color.
- Hold down T and a ghost tile appears above hovered tile.
- Left-Click to add a tile at the ghost tile, Right-Click to delete the hovered tile.
You may have noticed that holding T also displays a widget in the bottom left.
In this widget, you can select the color of the next placed tile and whether it should count as 'Constructed', which is a tile property that some algorithms may distinguish.
- Hold down T and select a predefined color in the widget (bottom row buttons).
- Click the checkmark left of 'Constructed'.
- Place more tiles as explained before.
- Uncheck 'Constructed' in the widget.
There is another mode that allows fast placement of tiles, called 'Draw Mode'.
- Hover with the mouse over a tile at the outer border of the configuration.
- Hold down F.
- Hold down Left-Click and drag the mouse outside the border. This should place a stroke of tiles behind the mouse movement.
Experiment with the different modes of adding, removing and drawing tiles before continuing to the next step.
There are several predefined configurations that we can generate without having to manually set each tile.
Whenever we generate a configuration, it overwrites the current configuration, so make sure to first save your changes first.
- In the Main Menu select File and then Save Configuration.
Depending on your browser setting a download prompt will appear or the file ist immediately saved to your download folder.
You can later restore that configuration by selecting Load Configuration in the same menu.
Lets say, we want to simulate an algorithm on a random initial configuration of 300 tiles.
- In the Main Menu select Generate Tiles.
- Click on the field with the tag Size and enter '300'.
- Click on Random.
The generation of other, regularly structured configurations works the same.
Note that in some cases the number of tiles does not precisely match the input number, e.g., spheres or cubes.
Continue with the next step.
Now that we have a random configuration, we want to add a robot that transforms it into a pyramid.
- Expand the Code Editor by clicking on its header.
- Select Templates and Pyramid Formation in the Code Editor menu bar.
Note that the green 'Compiled' button in the Code Editor changed to a red 'Click to compile!' Button.
- Click it!
After compiling the algorithm, every robot in the current configuration will be overwritten with the new algorithm. Currently, there are no robots, so lets add one.
- Left-Click somewhere in the 3D View to set the focus.
(Otherwise the next keyboard inputs will write to the Code Editor instead. - Hold down R and hover with the mouse over a tile.
- Left-Click to place a robot at that tile.
We have everything set up to simulate the algorithm.
- Click in the Timeline (second button from the left).

- Hold down Left-Click in the field and slowly move the mouse left and right to adjust the simulation speed.

- Click to pause the simulation.

- Click to perform a single simulation round.

Note that
After pausing or finishing, we can rewind and take a closer look at each simulation round.
- Use and
 to undo/redo a simulation round.
- Drag the slider to the right to immediately jump to a specific round.
- Use to go to back to the latest round.

You can also use the timeline outside of the simulation to undo/redo any tile or robot placement.