
Selections are used to access tiles in the Property Panel, to mark specific positions in the 3D View and to use the advanced tile placement in the 'Edit Mode'.
- Left-Click on a tile in 3D View to make a single selection.
- Alt+Left-Click to select the (empty) tile adjacent to the hovered tile.
- Shift+Left-Click a tile to add/remove it to/from the selection.
(Shift+Alt+Left-Click to add adjacent (empty) tiles to the selection.) - Shift+Left-Click the void to deselect all.
The active (last) selection is shown by an orange outline, the passive (previous) selections are shown by a blue outline.
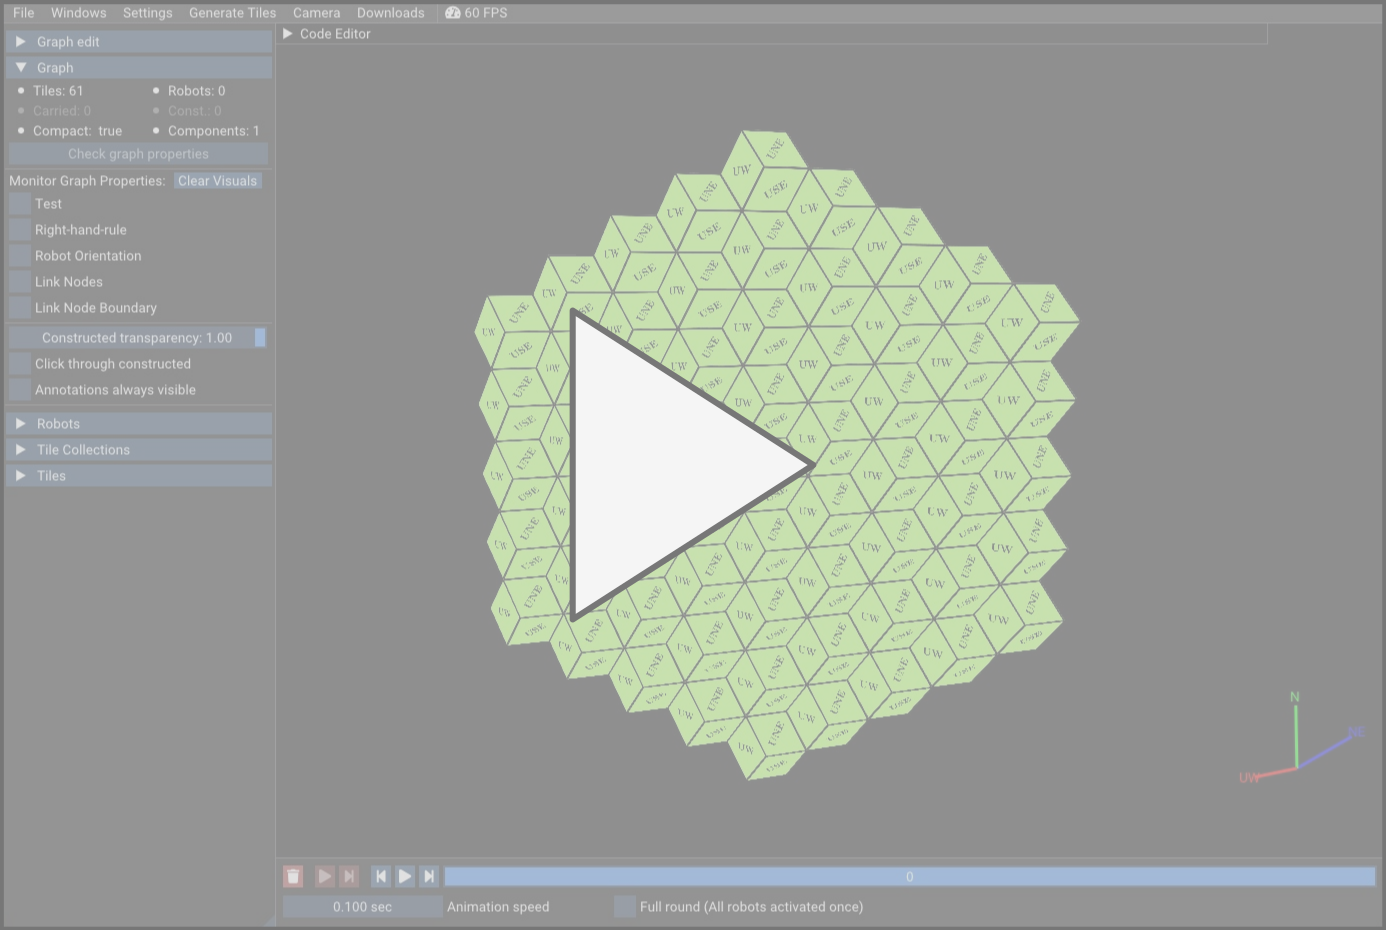
In the coating algorithm, we distinguish two kinds of tiles: native and artificial/constructed.
Let's change the status of the active selected tile using the Property Panel.
- Expand the header 'Tiles' in the Property Panel.
- Select a tile in the 3D View as explained above or from the list in the Property Panel.
- Expand the tree node 'Properties' in the Property Panel and toggle 'Constructed'.
Expand and look through the other tree nodes. You can access all properties here. The same steps are used to access the properties of robots in the configuraiton.
We can manually copy, shift, add and delete multiple tiles at once using the Edit Mode.
- Expand the header 'Graph edit' in the Property Panel.
- Click on .

- Make a selection of tiles like shown in Step 1 (Selections, Properties).
Next, we use the hexagonal buttons in the top left of the Property Panel. Note that there are 12 directional buttons and one centering button.
- Left-Click a directional button to shift the selection only.
Ctrl +Left-Click a directional button to shift tiles together with the selection.Shift +Left-Click a directional button to add tiles in that direction.- Left-Click the centering button to add/remove tiles at the selection.
Considering the coating algorithm, we can visualize properties like link-nodes directly in the 3D View. Make sure to deactivate 'Edit Mode' first, before continuing.
- Place some tiles that are marked as 'Constructed'.
- Toggle 'Link Nodes' in the Property Panel.
- Select 'All'.
Note that the monitoring reduces the simulators performance significantly. You can adjust 'refresh' to perform updates less frequently: a higher number results in more delay between updates. Also, you can change the mode from 'All' to 'Near Selection' or 'Near Robot' and adjust the distance at which link nodes are rendered with the 'distance' slider.
Here are some final remarks to keep in mind when simulating the coating algorithm:
- To prevent unexpected behavior, the RHR order is cleared when removing Constructed Nodes. Thus, always run the algorithm on a fresh configuration without any constructed nodes present.
- For the same reason, do not use the Timeline in the coating algorithm!
- If something does not work as expected, your configuration might not be coatable in the first place. Go to 'Edit Mode', set the 'Parameter' slider to 1 and click 'Find i-coatable violations' to highlight tiles that violate coatability.